DIY No Sew Kids Indian Costume

My kindergartener is having a Thanksgiving Day Feast with the 1st and 2nd graders next week and they can come dressed up as either an Indian or a Pilgrim. My girl wants to be an Indian but I’m not allowed to braid her hair. WHAT?!?! I’m going to have to work on that one…

I searched Pinterest and found what appears to be an ‘easy’ no sew do-it-yourself indian dress. I pinned it and headed out to the stores. Well, truth be told…I headed to my husband’s closet first to see if I could steal an old brown t-shirt or two. No such luck. **Note to self…buy him a variety of colored shirts, not just orange and blue 😉

I headed to Hobby Lobby first and they had a great selection of long sleeve t-shirts at a great price…and they were on sale too! Score! But…they didn’t have brown. And I really, really wanted brown. Ok, no biggie. I’ll just dye the shirts. Easy peasy. But…they didn’t have brown dye. They were all out. Ok, no biggie. I’ll stop at Michael’s on my way home.

IMG_0389-0

While at Hobby Lobby, I picked up two (I only need one costume but I have a feeling my 3 year old will want one) long sleeved, size small adult t-shirts, 2 packs of feathers, and 1 piece of brown foam board (maybe to help in making a headband??). I already had beads at home left over from another project. So off to Michael’s for some brown dye…I was also hoping they had brown shirts so I could save a step but they didn’t.

They had brown dye and I was able to use a 50% off coupon so it came to $2.13! Score! Now…let’s change the color of these shirts because I promised the big kids they could help put beads on when they got home from school.

IMG_0390-0

I took a bucket from the garage (thank goodness it’s black), rinsed it out and filled it with HOT water. I dumped the liquid dye in and mixed for about 2 minutes before I put the wet shirts in the bucket. The directions say to add 1 cup of salt but I didn’t. I’m not looking for a perfectly brown shirt. I just need it not to be white and to be kind of brown.

Now, the directions say to mix CONSTANTLY for 30-60 minutes. Umm…who the heck has time for that?! And I’m pretty sure my arm would fall off in the process. So I left it and mixed it maybe every 5 minutes for about 30 minutes.

IMG_0391-0

After thirty minutes, I very carefully emptied the bucket and started to rinse the shirts with cool water. Talk about a mess! Thank goodness the big kids were at school and the baby was sleeping because this was hard enough to do by myself let alone have my little helpers helping me.

This is what the shirt looked like after I rinsed it with cool water. I tried my best to keep rinsing until the water was clear but I probably could have done a little bit better. Next up, I threw them in the washer and dryer!

IMG_0392-0

This is how it looked after the washer…

IMG_0394-0

And this is how it looked after the dryer…

IMG_0396

Definitely a bit blotchy but it will be perfect for an indian costume! Next up, time for the scissors and some beads!

Stayed tuned…

{insert Jeopardy music here}

For Part 2, click here!

Advertisement

Painting Is Easy. Choosing a Color Is Not.

paintingiseasy

The day we walked into this house, I knew I wanted to paint the kitchen. It took me months to finally decide on a color. Some days I wanted to stick my head in the sand and hope and wish someone else would do it for me. No such luck. My husband is a smart man. He would NEVER pick a color and paint without my approval. He would hear about that (and not in a good way) for the rest of his life. #happywifehappylife 😉

I had to think of the house as a whole. I like for the rooms to blend or compliment each other. I wanted a bold color but also one that would blend. Talk about a challenge…for me. I’m not good with that kind of stuff. Give me a recipe book and I can cook for days. Give my an empty room and tell me to decorate it…insert head in sand! Or better yet, I may just run away!

Here’s what I knew…I knew what I liked. I knew what kind of bar stools and kitchen table we were getting. I also knew that I’m always drawn to the beach and all of those beautiful shells! Now, how to bring it all together and have it look nice.

theme

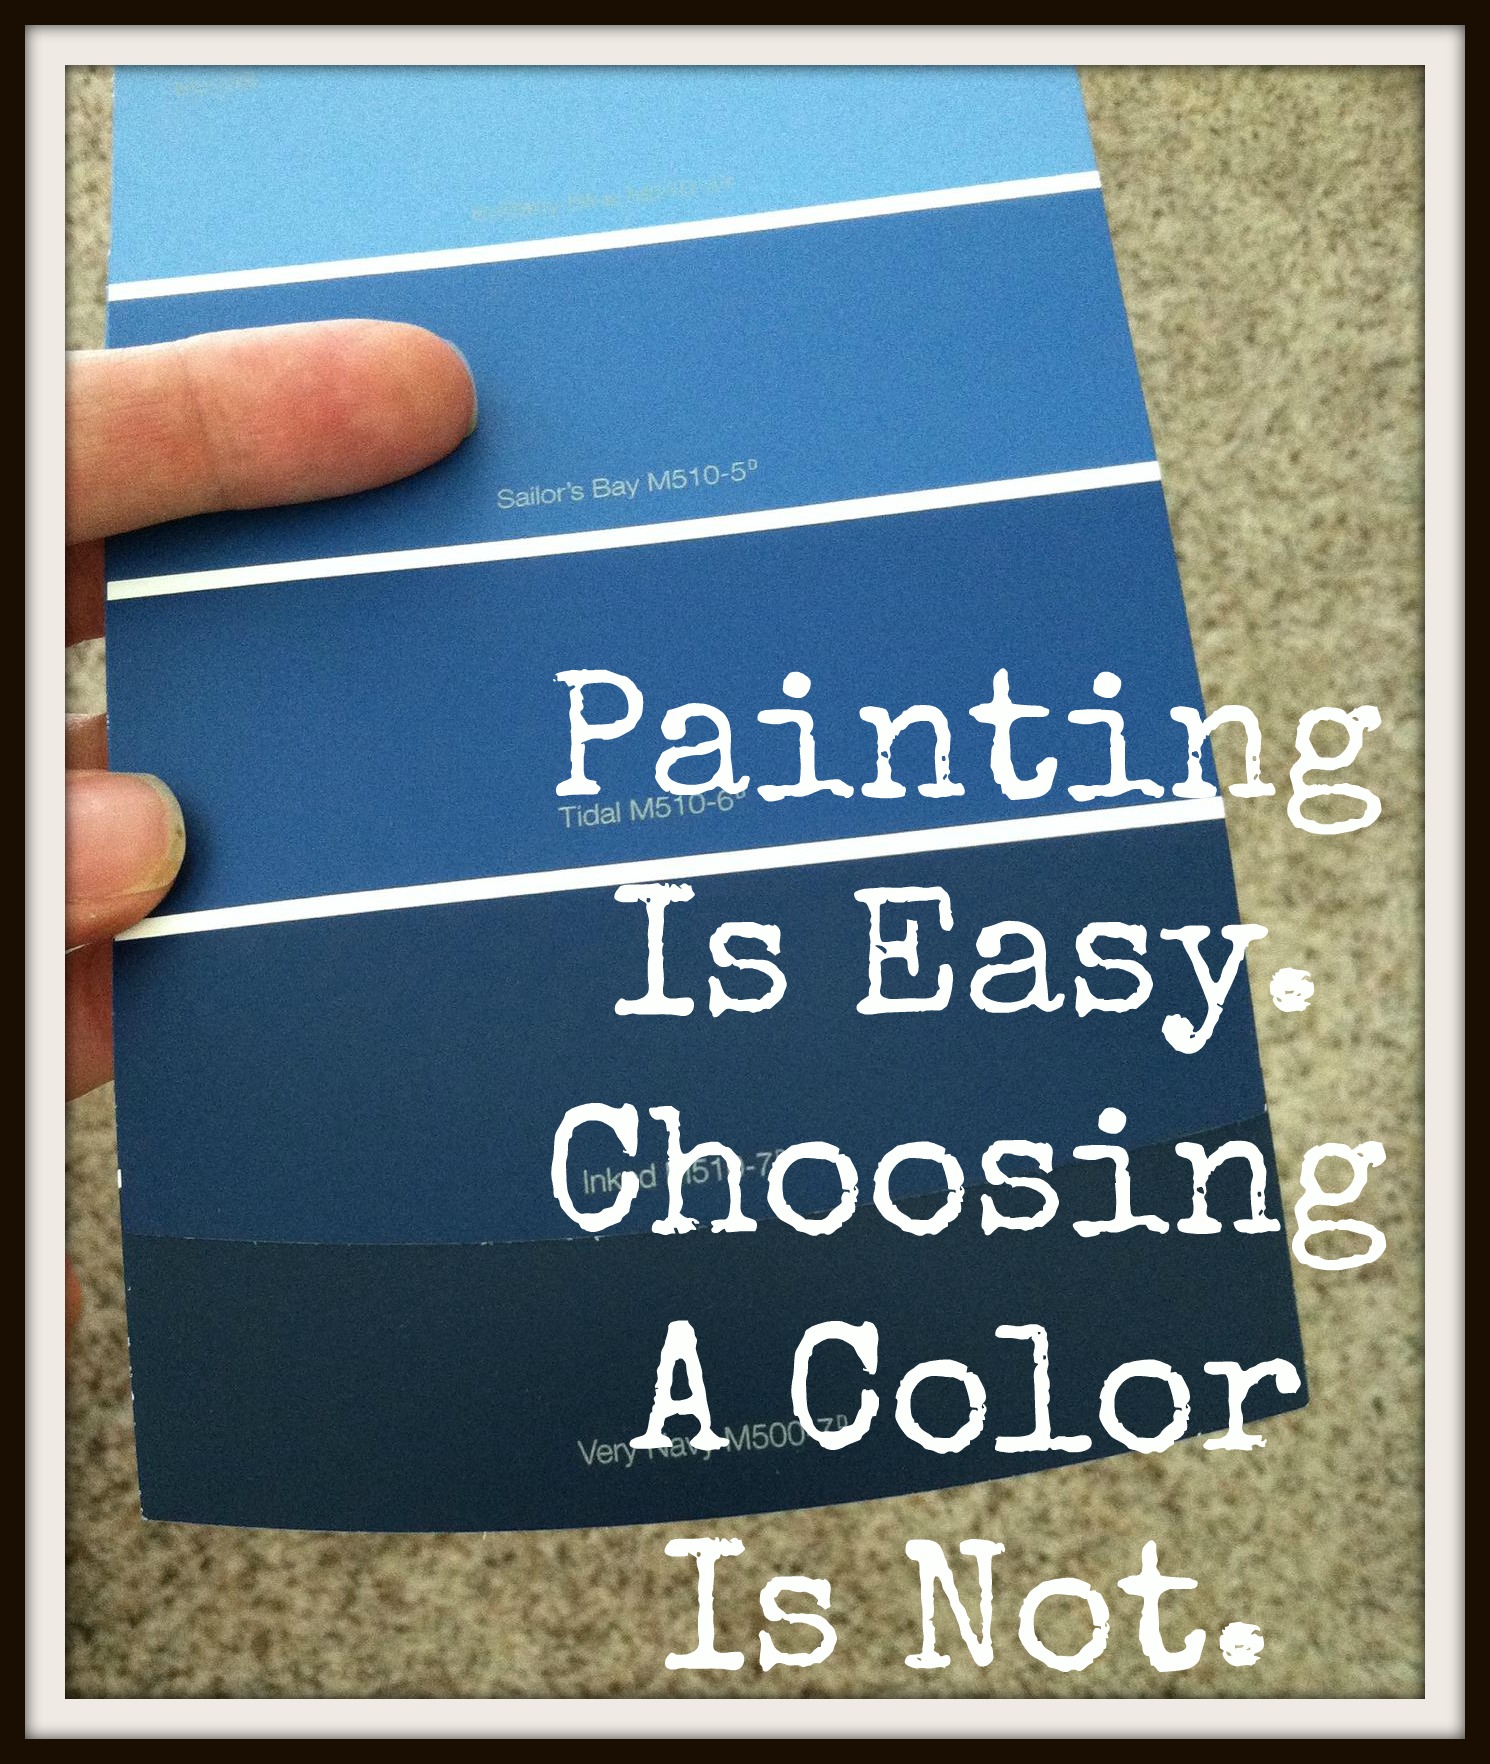
Like I wrote in my last post about painting the kitchen, I googled & pinned for days. After much ‘research’, I finally decided on a blue, a nice navy blue. Great! The hard part is done, right? WRONG! Try going to the paint store and picking out a nice navy blue. Ugh…

3blues

I narrowed it down to ‘Inked’ and ‘Very Navy’ but ‘Very Navy’ scared me. It was really dark!

paintsamples

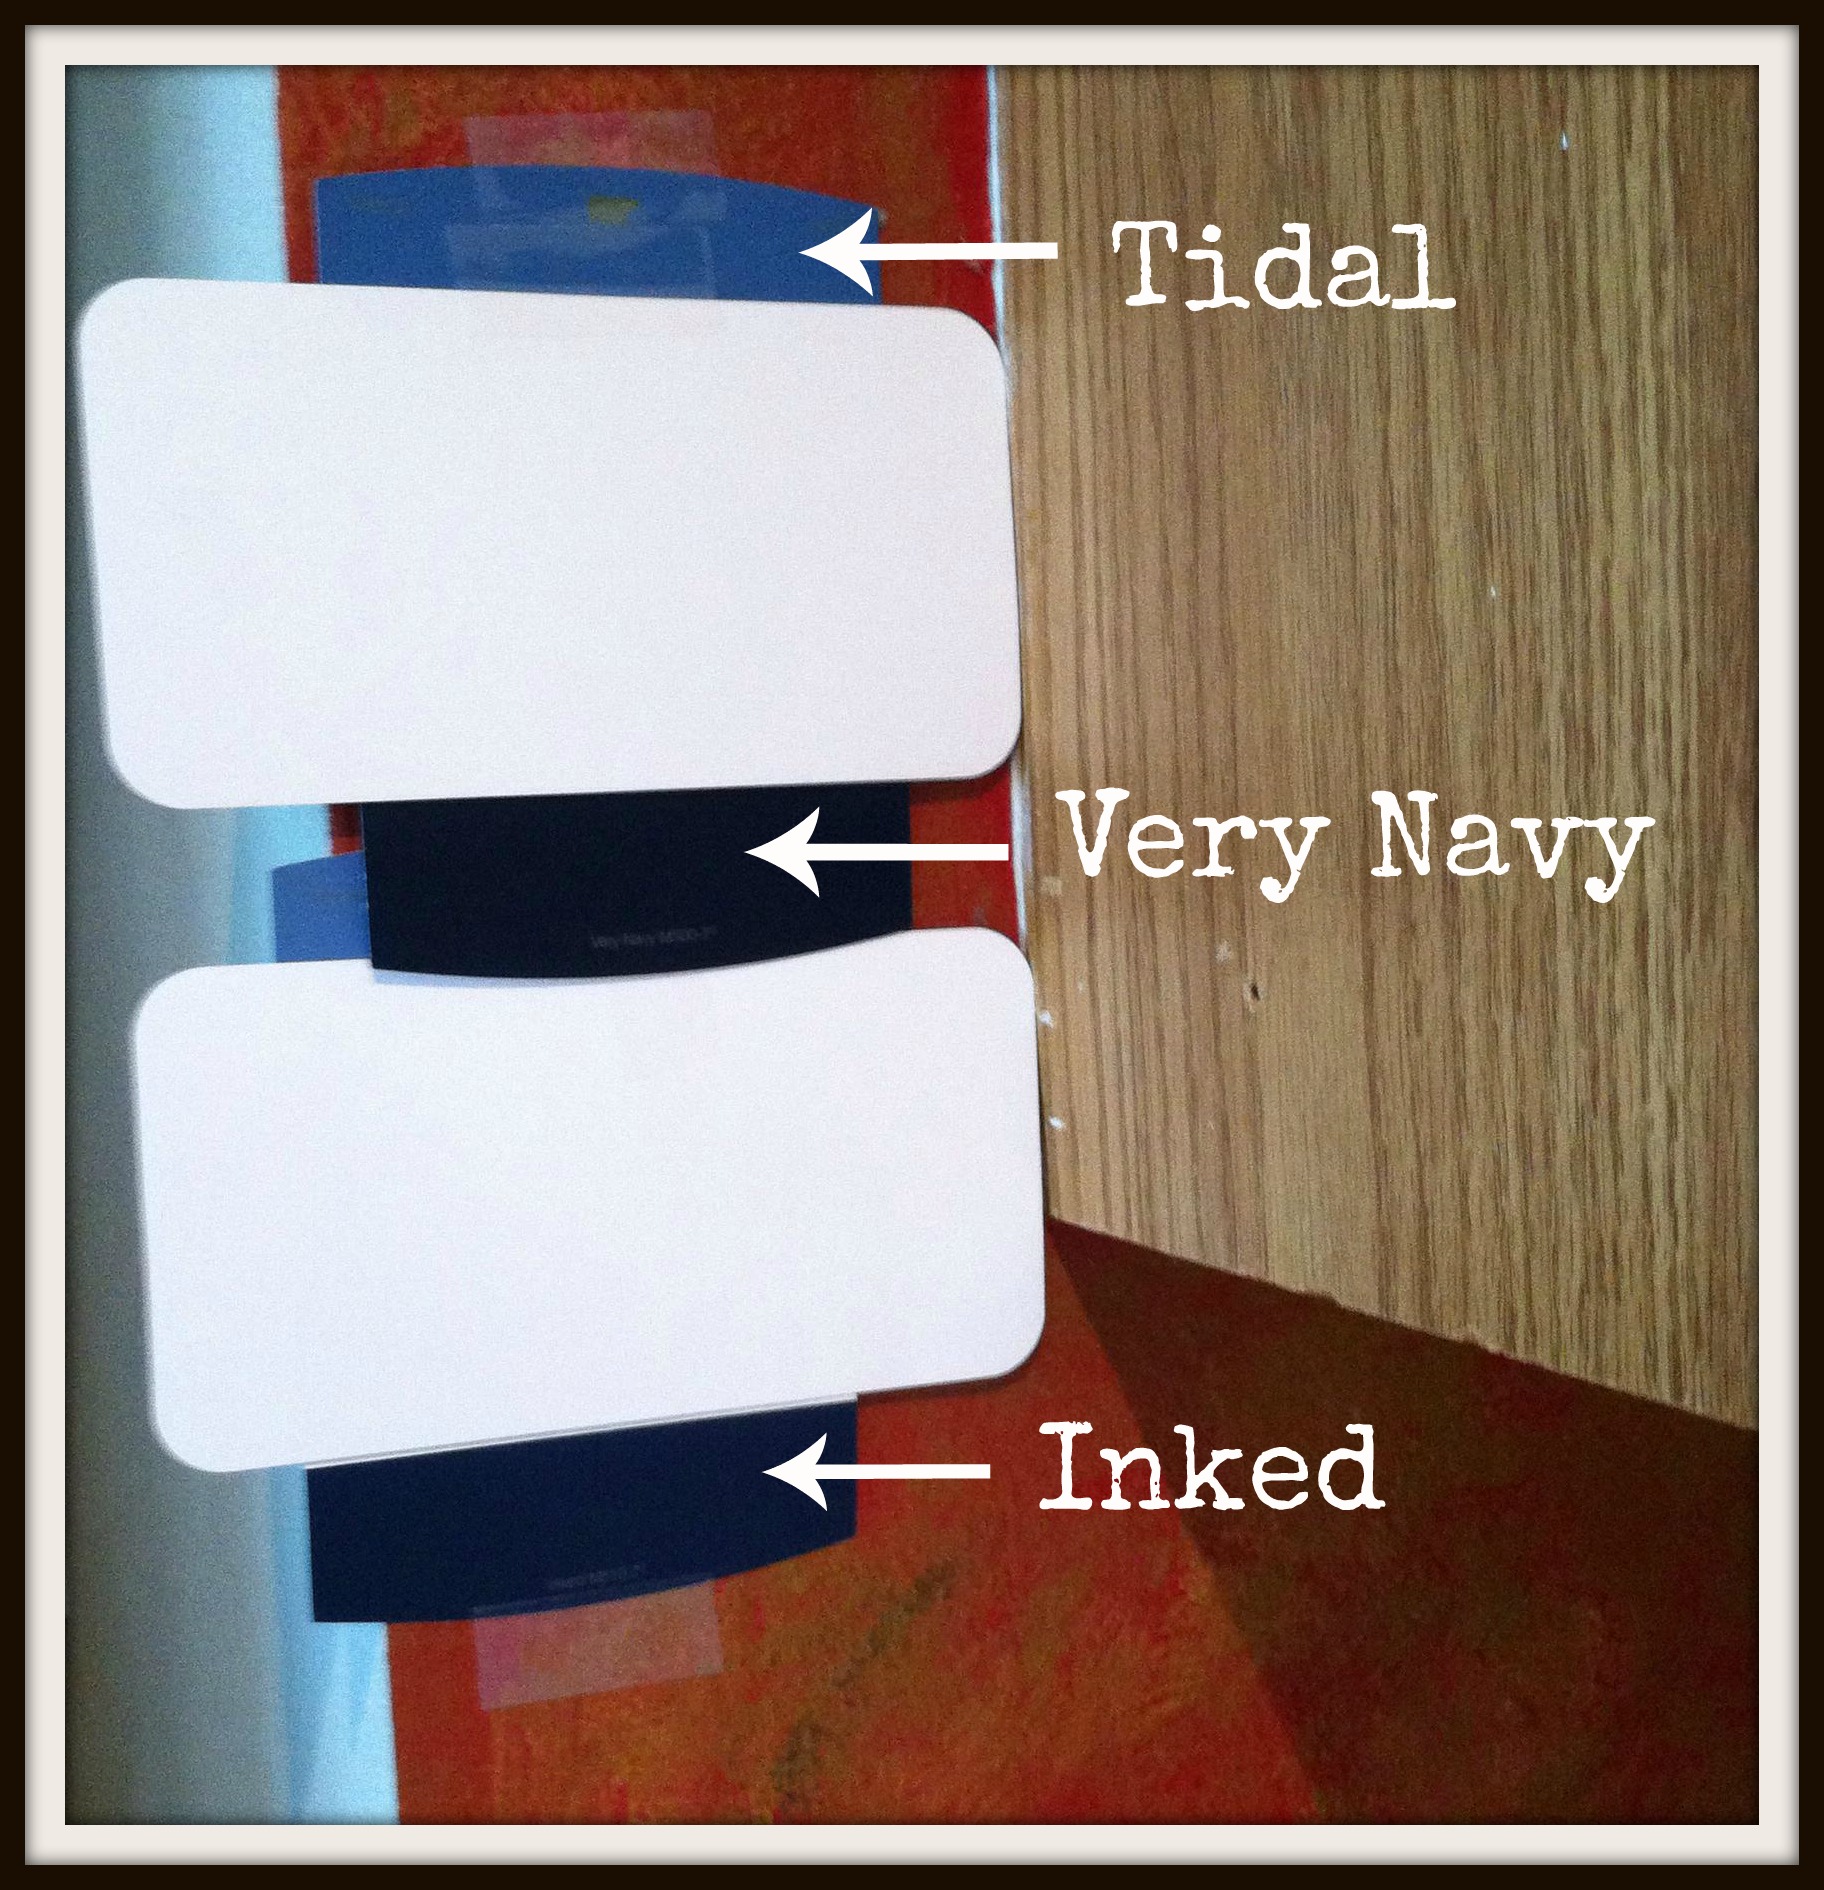
These swatches stayed taped to the wall for a few days but I’m sure if you ask my husband he would say a few weeks. One morning over coffee, I took the plunge and chose ‘Inked’. That’s it. It’s only paint. If I don’t like it, I’ll just repaint it a neutral tan color and be done with it. Gotta keep moving forward…

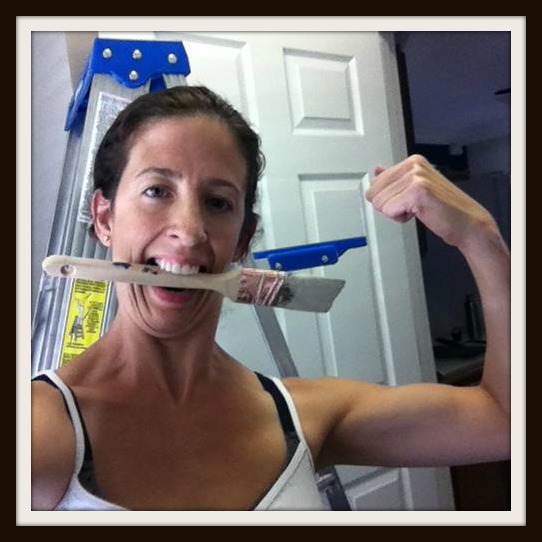
In the process of choosing the color, I did start painting over some of the painted on brick. And of course, every session of nighttime painting begins with a glass (or two) of my favorite red wine!

wine

Before…

barbefore

And the after….

barafter

Woohoooo!! Brick be gone! Now, let’s get going with that blue!

bicep

#icrackmyselfup

Stay tuned…

My New Favorite Kitchen Gadget!

kitchengadget

I had a Pampered Chef party a few weeks back to help my best friend raise money for The Leukemia and Lymphoma Society. She is running the Space Coast Half Marathon in a few weeks with Team In Training and when she first told me about this, I volunteered to help her raise some money! I’m all about a good cause, food and a running! The perfect chance to give back since November is all about ‘Giving Thanks’.

I’ve been trying (and I use that word loosely!) to get my eating back on track. My youngest is almost 1.5 years old and I really can’t use the excuse ‘I just had a baby’ anymore. It’s time to combine healthier eating WITH my running. Running alone is not going to get me into better shape.

Breakfast is my most challenging meal. The mornings are CRAZY in this house. Going for a run, showering, and getting myself dressed before the kids wake up is a piece of cake! It’s getting THEM dressed, fed and out the door that is the hard part. Before I know it, we are in the car on the way to school and I haven’t eaten breakfast. Not good. Not good at all.

So…my best friend told me I needed this gadget…aka Microwave Egg Cooker, because everyone has one minute to cook a decent breakfast.

I love my eggs over easy with a runny yolk that is perfect for dipping my toast in. Following the directions for ‘Fried’ Eggs, I added a little butter in each well.

Next up, I melted it in the microwave for about 30 seconds.

I cracked one egg into each well and then pierced it once with a fork.

I covered it with a paper towel and put it in the microwave for a total of 55 seconds.

And voila! Two eggs done in under a minute. And they were delicious!!

This gadget is definitely a keeper! Thank you BFF! You always know what I need! xoxo

Happy Cooking!