Friday I’m in Love

Happy Friday!

Two things…I totally forgot it was time for ‘Friday I’m in Love’ and I had no clue it was the last one of the month! Thank you Kendra for reminding me!

Now…on to all the LOVE!

~one~

11220803_10206248702712643_4412870309863283912_n

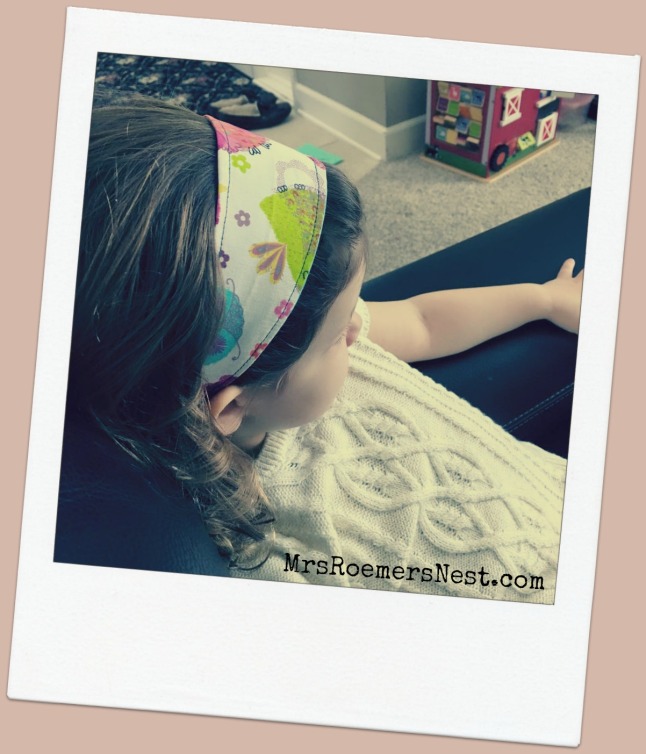
We bought a sewing machine over the weekend and the girls and I have been itching to use it. I found this simple pattern for a reversible headband and stitched one up while the baby napped. Come to find out, it actually is pretty easy. My sewing skills need a bit more practice but the kids LOVED them! I’m looking for some blogs to follow that include easy and kid friendly sewing projects. If you come across any, send me a link!

~two~

I cannot believe I’ve admitted this in my latest post with Orlando Moms Blog but I did. Click here to read all about what I do in car line. So embarrassing…but it’s the truth. Ha!

~three~

12798832_10206248702312633_1251235480760432789_n

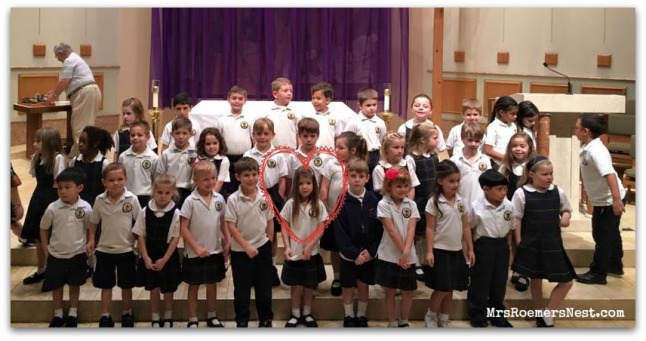
My daughter’s kindergarten class was responsible for the school mass this week. And oh my! It was beyond adorable. To hear the kids sing, pray and recite scripture just melted my heart.

~four~

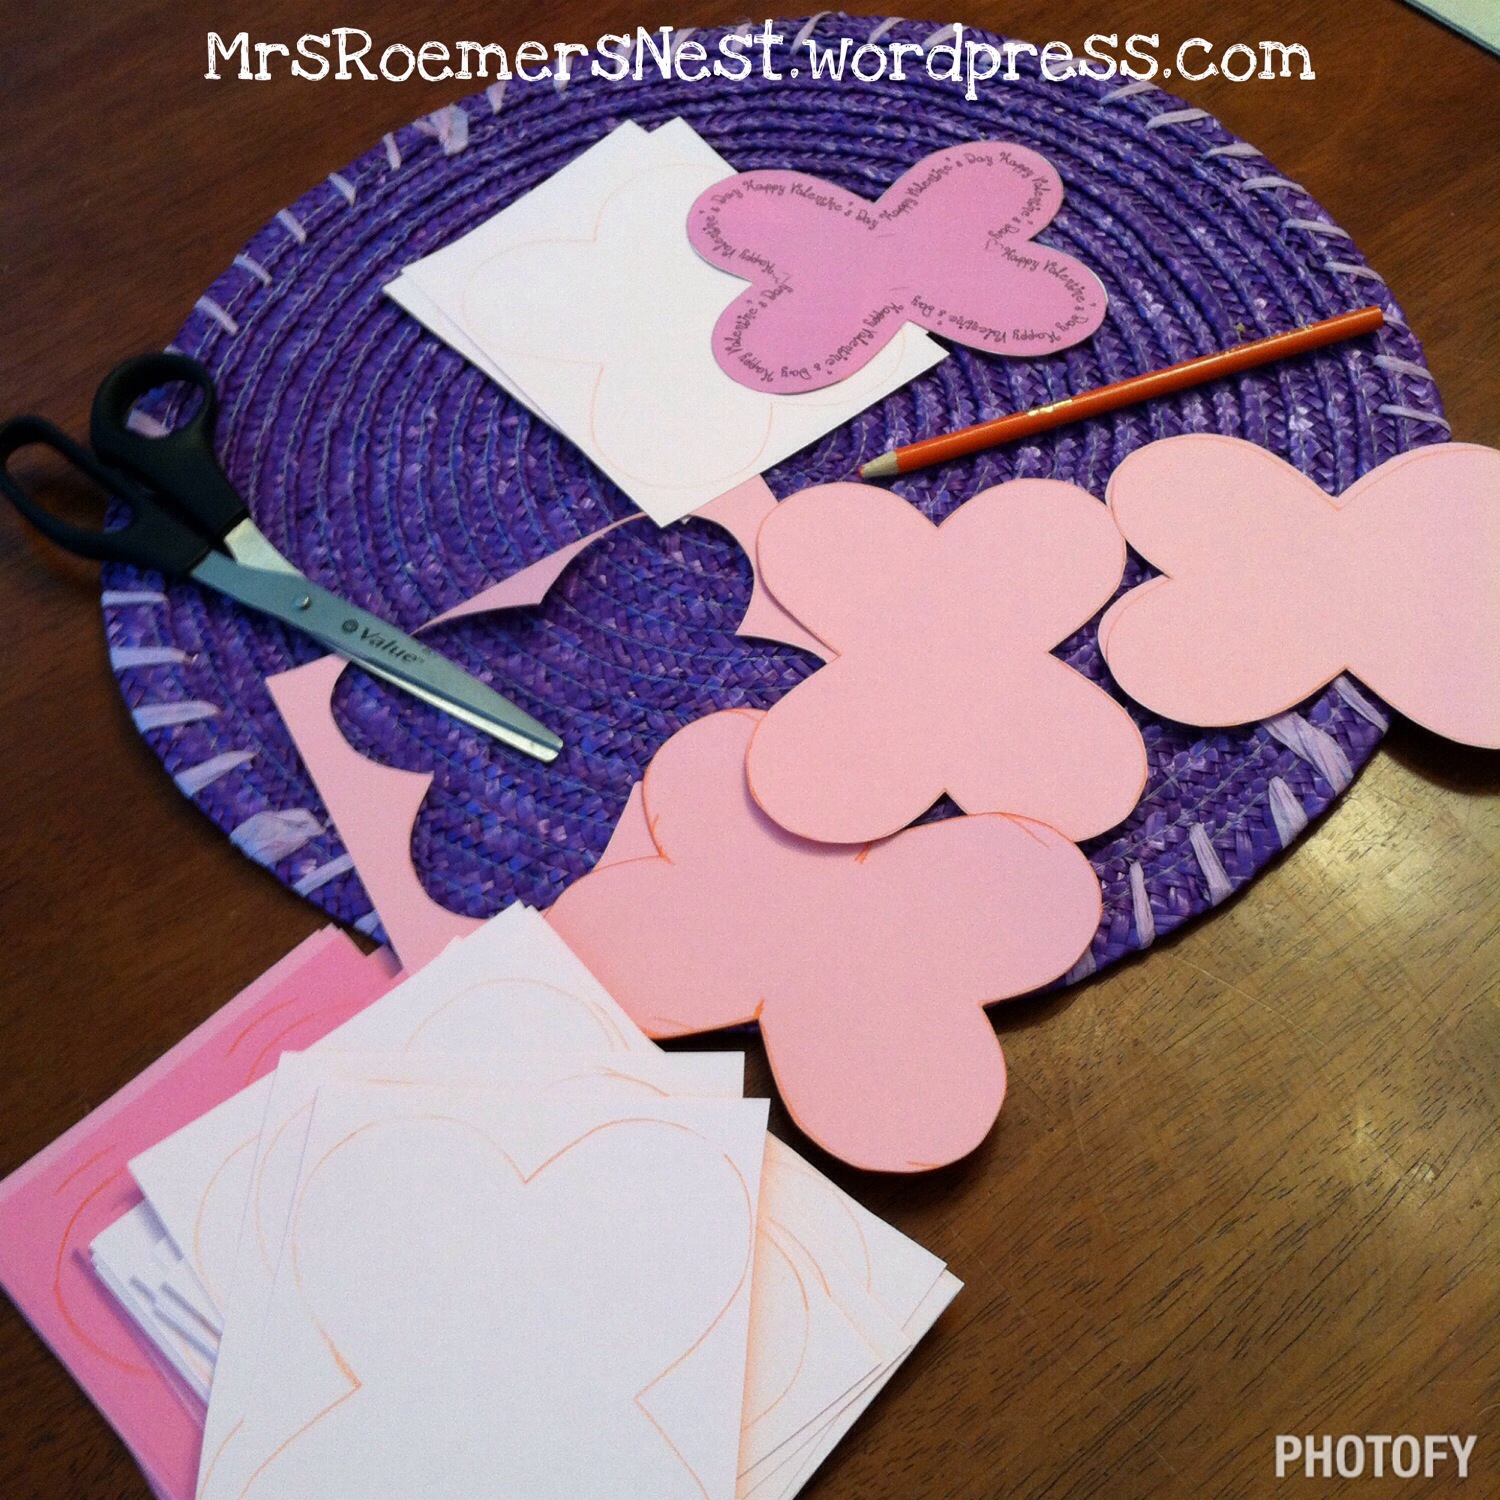
If you have kids, then I know you have a ton of crayons. I’ve always wanted to do this Melted Crayon Heart craft but I was pretty sure it would be a #Pinterestfail. My friend and fellow Orlando Moms Contributor, Heather, tested this craft out for Valentine’s day and it was a #PinterestWIN! Go check it out and put those old, broken crayons to good use.

~five~

12790927_10206248695072452_819159406936186356_n

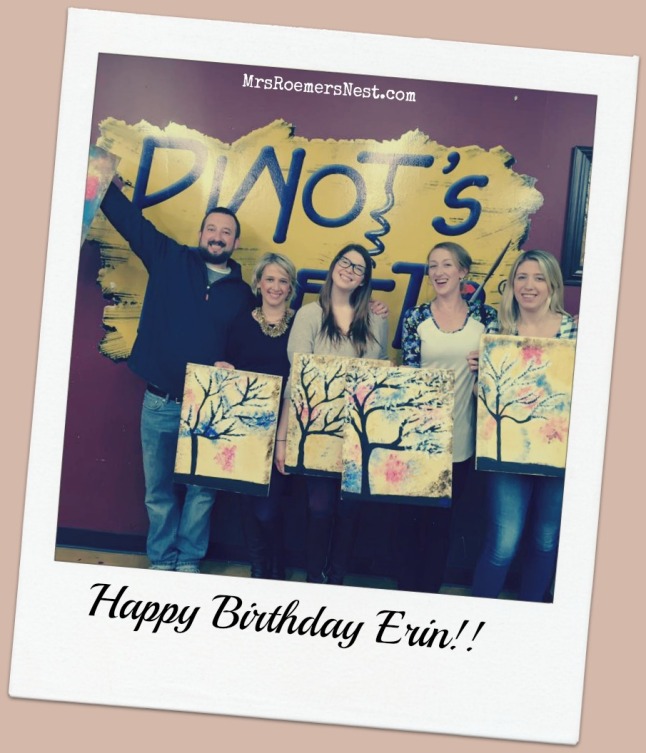
I love these crazy people! Also known as…my siblings! They celebrated Erin’s 23rd birthday last night at one of those fun painting places. Happy Birthday Erin! I LOVE you!

Tell me…what are you in love with today??

Advertisement

DIY No Sew Indian Costume- Part 2

IMG_0389-0

Better late than never, right?! I started this two part post back in November around Thanksgiving and well…things got crazy and I actually forgot that I never finished it. Until…this morning. So here we go!

This costume was relatively easy, I promise. My oldest had a Thanksgiving day feast in November and the classroom was divided into Pilgrims and Indians. My girl needed an Indian costume quick!

I really didn’t want to buy yet another costume and I had this giant bag of beads leftover from a previous project. I had to make it work somehow. So off to Pinterest I went. This post from Playdates & Pearls caught my eye and it gave me the inspiration to go ahead confidently and make one.

In my last post, I showed how I dyed, washed and dried the shirt.

After the shirt dried, I cut the long sleeves off to make a short sleeve shirt. I purposely bought long sleeves because I will use the cut parts for the costume.

12507653_10206034111267991_7720490024999899562_n

12541129_10206034111748003_6611310935351445961_n

Then I cut the bottom hem of the shirt completely off and saved it to use later as well.

12573113_10206034111788004_4509189621241572721_n

12522942_10206034111027985_8538997005429457304_n

I cut fringes all around both short sleeves. They were about 1/2 inch wide and 3 inches long. I needed to make sure there was enough room for beads and to tie a knot after the fringe was beaded.

12508697_10206034110987984_6313587780250189446_n

Then I cut the same size fringes all along the bottom of the shirt.

12524292_10206034110227965_8480005924693061331_n

I had the girls help do all the bead work. Some of the fringes were a little thick. I had to snip the end to form a point so the girls were able to bead it. My 3 year old probably did about 4 beads total and then she was done. She was more interested in goofing off with her little sister. My 5 year old LOVED beading! She’s very detailed oriented and has great dexterity…future dental hygienist?? 😉

I cut the long sleeves so that I had about 4-5 inches of fabric past the cuff. I was originally thinking that my daughter could wear these on her wrists but then thought it would look cuter (and stay on longer) if she wore them on her legs. Thank you for the idea, Samantha!

12508697_10206034110467971_8407456950886068452_n

940923_10206034110587974_428149386287734057_n

And here’s the final picture! I used the bottom hem that I cut off to tie around my daughter’s waist as a belt. We also made a headband out of the foam and stapled the feathers on the back which she actually wore all day at school! The necklace was her idea and she thought it would look “fashionable” if a feather was added.

I did all the fabric dyeing and cutting and she did all the beading. I had to tie the knots for her after the beads were on. This an inexpensive and relatively easy craft to do WITH your child for Halloween, a school party or just for some good old fashioned fun!

I hope you enjoyed my project with my girl! Now go get crafty with your kids and make sure to send me a picture so I can see what you’re up to!

12523073_10206034109907957_440257499468865586_n


And here’s the breakdown of the cost for this costume:12573935_10206034111547998_8594811136944350054_n

DIY No Sew Kids Indian Costume

My kindergartener is having a Thanksgiving Day Feast with the 1st and 2nd graders next week and they can come dressed up as either an Indian or a Pilgrim. My girl wants to be an Indian but I’m not allowed to braid her hair. WHAT?!?! I’m going to have to work on that one…

I searched Pinterest and found what appears to be an ‘easy’ no sew do-it-yourself indian dress. I pinned it and headed out to the stores. Well, truth be told…I headed to my husband’s closet first to see if I could steal an old brown t-shirt or two. No such luck. **Note to self…buy him a variety of colored shirts, not just orange and blue 😉

I headed to Hobby Lobby first and they had a great selection of long sleeve t-shirts at a great price…and they were on sale too! Score! But…they didn’t have brown. And I really, really wanted brown. Ok, no biggie. I’ll just dye the shirts. Easy peasy. But…they didn’t have brown dye. They were all out. Ok, no biggie. I’ll stop at Michael’s on my way home.

IMG_0389-0

While at Hobby Lobby, I picked up two (I only need one costume but I have a feeling my 3 year old will want one) long sleeved, size small adult t-shirts, 2 packs of feathers, and 1 piece of brown foam board (maybe to help in making a headband??). I already had beads at home left over from another project. So off to Michael’s for some brown dye…I was also hoping they had brown shirts so I could save a step but they didn’t.

They had brown dye and I was able to use a 50% off coupon so it came to $2.13! Score! Now…let’s change the color of these shirts because I promised the big kids they could help put beads on when they got home from school.

IMG_0390-0

I took a bucket from the garage (thank goodness it’s black), rinsed it out and filled it with HOT water. I dumped the liquid dye in and mixed for about 2 minutes before I put the wet shirts in the bucket. The directions say to add 1 cup of salt but I didn’t. I’m not looking for a perfectly brown shirt. I just need it not to be white and to be kind of brown.

Now, the directions say to mix CONSTANTLY for 30-60 minutes. Umm…who the heck has time for that?! And I’m pretty sure my arm would fall off in the process. So I left it and mixed it maybe every 5 minutes for about 30 minutes.

IMG_0391-0

After thirty minutes, I very carefully emptied the bucket and started to rinse the shirts with cool water. Talk about a mess! Thank goodness the big kids were at school and the baby was sleeping because this was hard enough to do by myself let alone have my little helpers helping me.

This is what the shirt looked like after I rinsed it with cool water. I tried my best to keep rinsing until the water was clear but I probably could have done a little bit better. Next up, I threw them in the washer and dryer!

IMG_0392-0

This is how it looked after the washer…

IMG_0394-0

And this is how it looked after the dryer…

IMG_0396

Definitely a bit blotchy but it will be perfect for an indian costume! Next up, time for the scissors and some beads!

Stayed tuned…

{insert Jeopardy music here}

For Part 2, click here!

Crafty Kids & A Frugal Mom

20150301-141100.jpg

It’s no secret that I have passed on my love for crafting to my girls. The ask me every day if we can do some sort of craft whether it’s painting, cutting, coloring or glueing. They love it all!

Now that the two older girls have quite a list of friends, there is always a birthday we are celebrating. I got tired of buying birthday cards….actually that’s not true. I got tired of FORGETTING to buy the birthday card.  #mombrain I have a closet full of craft supplies and those times that I didn’t have a card, I would quickly make one on our way out the door. Then the light bulb went off…why not have the kids make them!! So we starting making cards for all occasions- Christmas, Thank You, Birthday, Mother’s Day, Father’s Day and this time Valentine’s Day. Valentine’s Day was fast approaching and I still didn’t get cards for the girls to handout at their parties. I was looking through our town’s newsletter and VOILA! There was a link to the cutest homemade valentine ever- a butterfly with a lollipop for the head and body. All you had to do was print, cut, decorate and stick a dum dum pop inside through the middle. Perfect! Or so I thought… 20150301-141031.jpg My printer was on the fritz (and still is…ugh) and I already told my oldest we were going to make them. You know those 4 year olds…they never forget a thing! So what’s a mom to do? Cut out the butterfly from the newsletter, trace them on card stock and cut out 40 of them (20 for each class). OMG. I was really wish I had a Cricut for that one!!

But it was totally worth it. The girls had a great time coloring and decorating all the butterflies. Even the 2year loved it! It kept them happy and content for at least an hour and a half. No whining, no complaining and no fighting! Score one for mom!

Next time, if we have to do that many, I have to start more than a few days early. We cut it pretty close this year. The 2 year old had all 20 of hers done in about 30 seconds but the 4 year old was really into decorating each one ever so carefully.

Check out the butterfly cards over at Skip To My Lou. They could be used for any occasion, not just Valentine’s Day and who doesn’t love artwork from kids with a bonus lollipop?! There are a bunch of great FREE printables and activities for the kids. If you stop by, tell Cindy I said hi! 🙂

Happy Crafting! Katie

P.S. Come visit me over on Facebook… Mrs. Roemer’s Nest 🙂